It's only on Thursdays, 'Sugar Thursdays' as we all call it, those of us lucky enough to be in this particular class, last period on a Thursady afternoon. Sometimes it's not even cake (sadly), but biscuits, lollies, chocolate - yay chocolate! - or anything else deliciously bad for you.
I am always a little earlier to class on Thursdays than other days, and so is everyone else, it seems. It is perhaps the one thing that all of us get excited about - our lovely teacher included - but this post must now take a turn for the bitter-sweet. All things must come to an end, they say. And this post marks the end of Sugar Thursdays In English Class, I regret to say, as I 'officially' graduate from High School tomorrow. Oh my gosh.
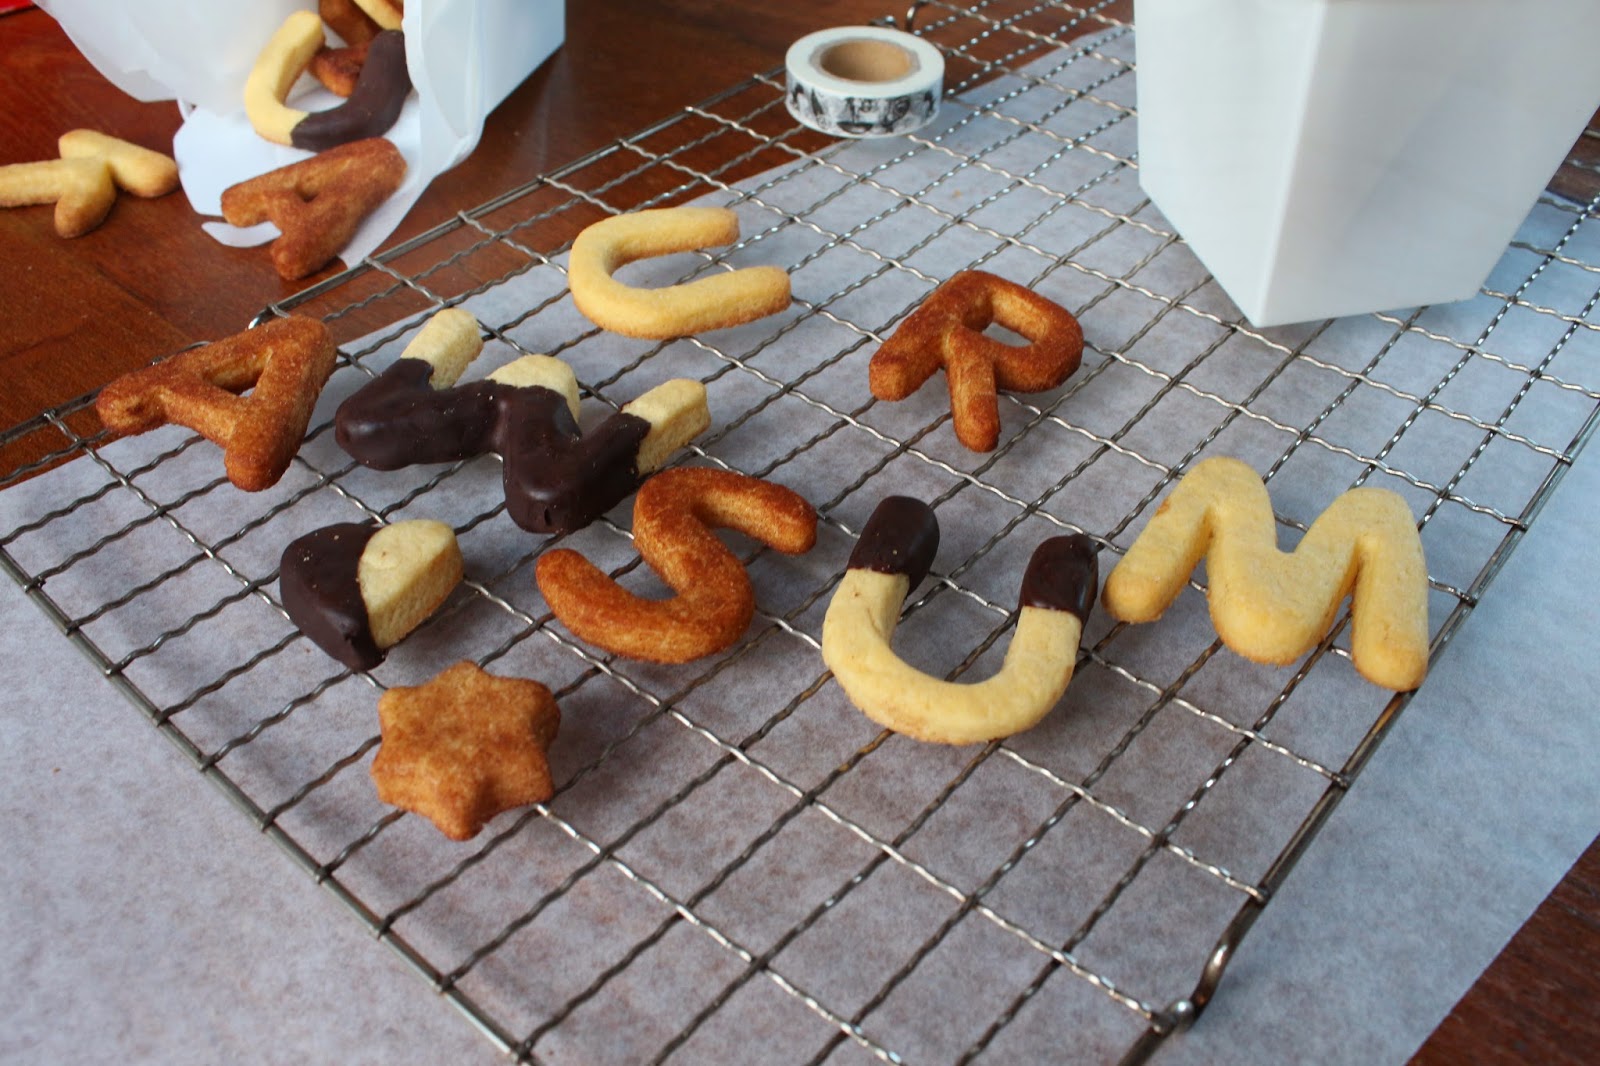
They are easy enough to be whipped up on a Sunday afternoon when you realise "OH MY GOSH IT'S THE LAST MONDAY OF THE YEAR TOMORROW" but so effective and professional looking (a friend thought I had bought them!). My favourite part? How you just have to play the 'decipher the sentence' before you devour it. I remember giving these to my English teacher, and the hysterics that followed as she struggled to decipher 'awesome' in txt language: "u r... amsuw?!?" Absolutely hilarious.
Message Cookies
Adapted from 'Fill the Tins' by Sophie Gray
125g butter
½ cup sugar
1 egg yolk
1 ½ cups plain flour
alphabet cookie cutters, or a knife and a steady hand
200g dark chocolate
1 Tbsp cinnamon powder
1 tsp caster sugar
Cream the butter and sugar until pale and fluffy, about 10 minutes. Add the egg yolk and mix well, then fold in the flour to form a firm dough. If the dough is not melding together well, add 1 Tbsp of milk and mix until thoroughly combined.
Knead the dough lightly then roll out between two large sheets of baking paper. Cut into the desired letters. Mix together the cinnamon and caster sugar in a small bowl. Dip one cookie at a time in the cinnamon sugar to coat completely. Shake of excess, then place on the baking tray. Continue until about one third of the cookies have been coated in the cinnamon sugar. Leave the rest of the cookies plain, and place on the baking trays with the rest. Bake for 10 to 15 minutes until lightly golden.
Remove cookies from trays onto a cooling rack. When the cookies have completely cooled, melt the chocolate.
Roughly break up the chocolate into a heatproof bowl and place it over a pot of gently simmering water. Make sure the water does not touch the bottom of the bowl. Stir chocolate occasionally with a metal or plastic spoon until completely melted. Take the chocolate off the heat.
Take half of the cookies that are not covered in cinnamon sugar, and dip part of each in the melted chocolate before returning to the cooling rack. Place a piece of baking paper under the cooling rack for easy clean up later. Allow chocolate to set completely before packaging.
Enjoy! x


No comments:
Post a Comment